

OmniParcel Consolidation
Scanning and Assigning Airway Bills
Scanning Items
- Log into the Omni Parcel Consolidation Scanning Hub http://www.omniparcel.com
Username and Password provided by SEKO
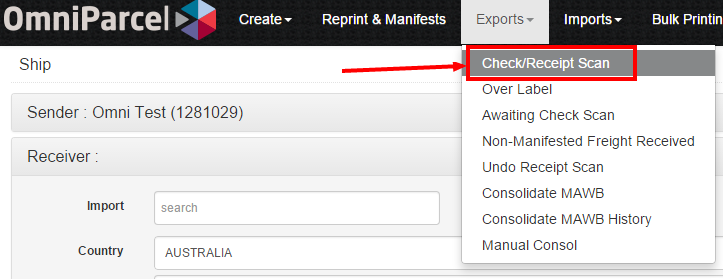
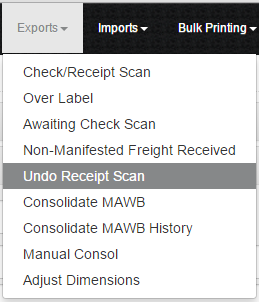
- Click “Exports” (at the top of the screen) and click “Check/Receipt Scan”.
- Start scanning individual parcels into the Check Scan - Origin Scanning screen.
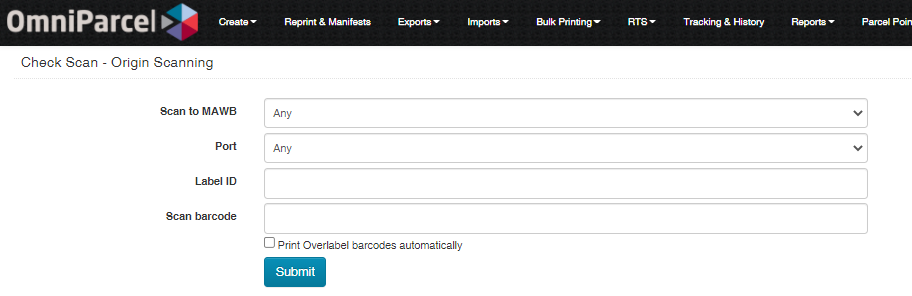
- Important: The outer unit identifier must be entered into the Label ID field (unique identifier per outer unit to be entered).
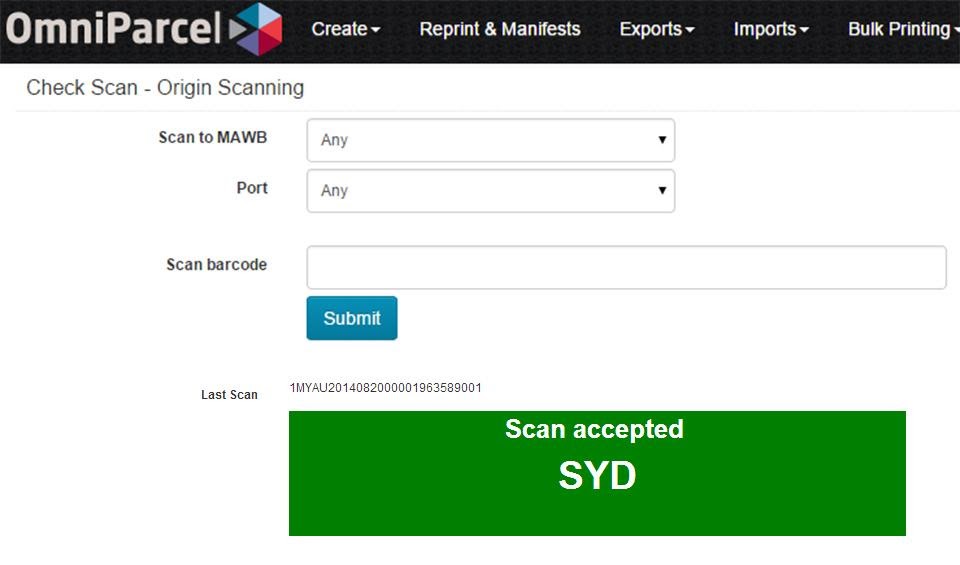
- If a package is scanned successfully a green Scan Accepted box will appear (image below). This will also display the Port the freight should be sent to. Please ensure freight is sorted into the correct airfreight ULD’s or bags.
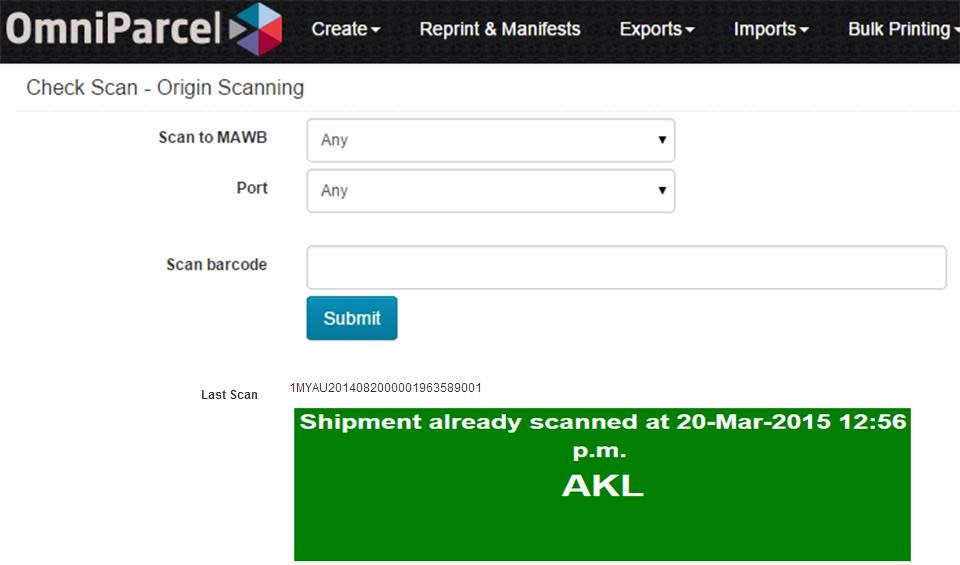
- If a package has already been scanned and is rescanned, a green Shipment Already Scanned box will appear. This will tell you the date and time the package was first scanned and the Port the freight needs to be sent to.
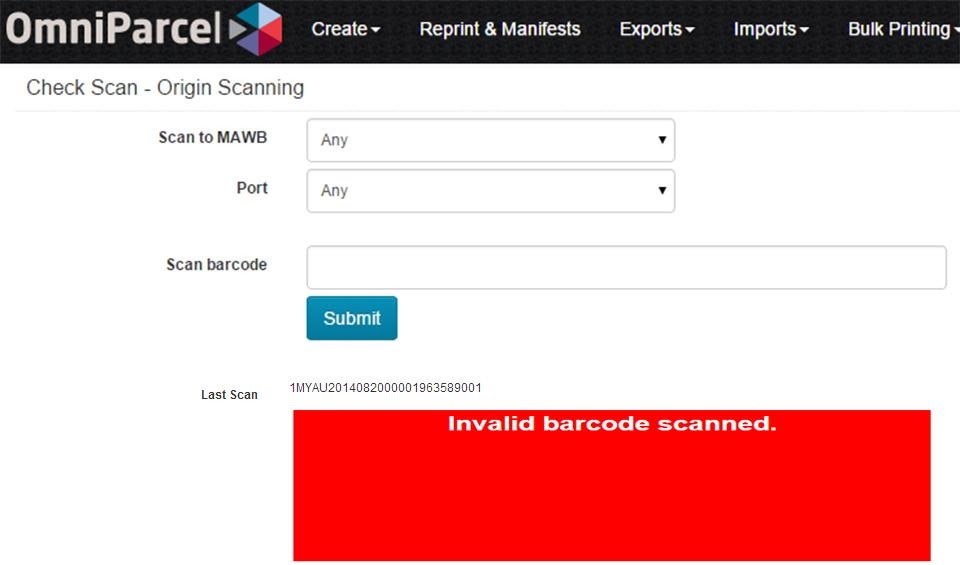
- If an invalid package is scanned, a red Invalid Barcode Scanned box will appear. Freight needs to be placed to the side.
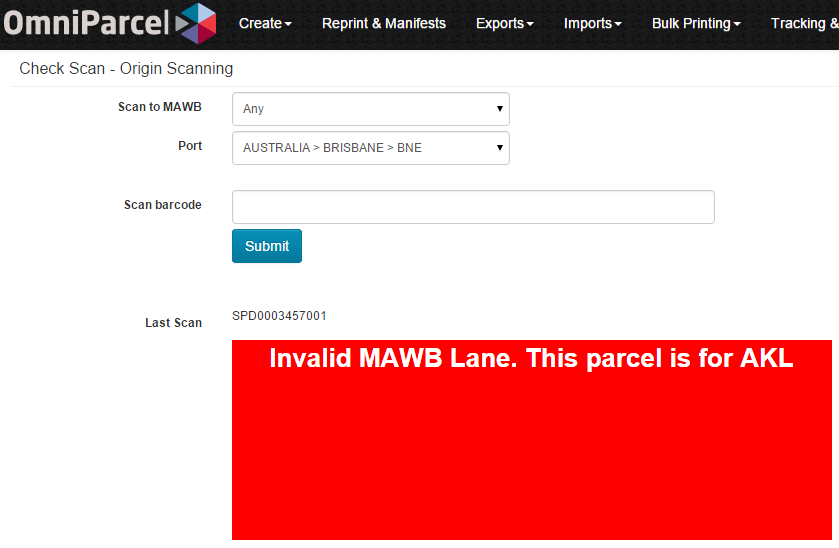
- If you scan a package to another port then the Invalid MAWB Lane box will appear.
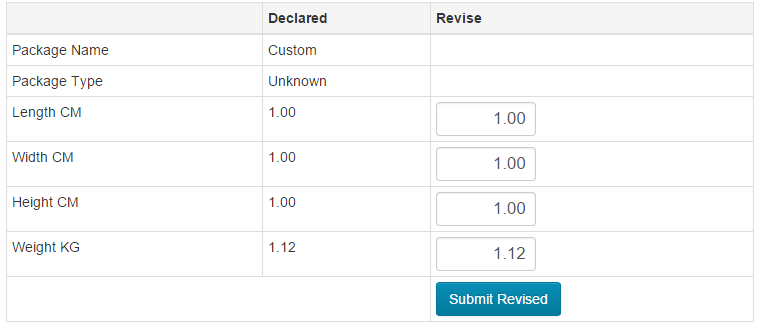
- At the time of scanning each and every parcel, if you want to adjust the width, height, weight or length then you can do so at the bottom of the page of each scan.
Assigning a MAWB to Scanned Items
After all items have been scanned, you can now assign a MAWB to these scanned items.
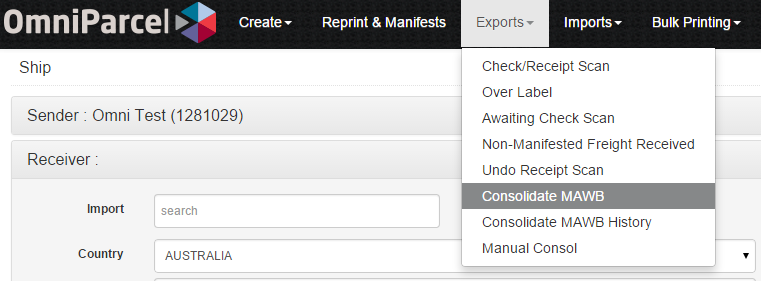
1. Click “Export” (at the top of the screen) and click “Consolidate MAWB”
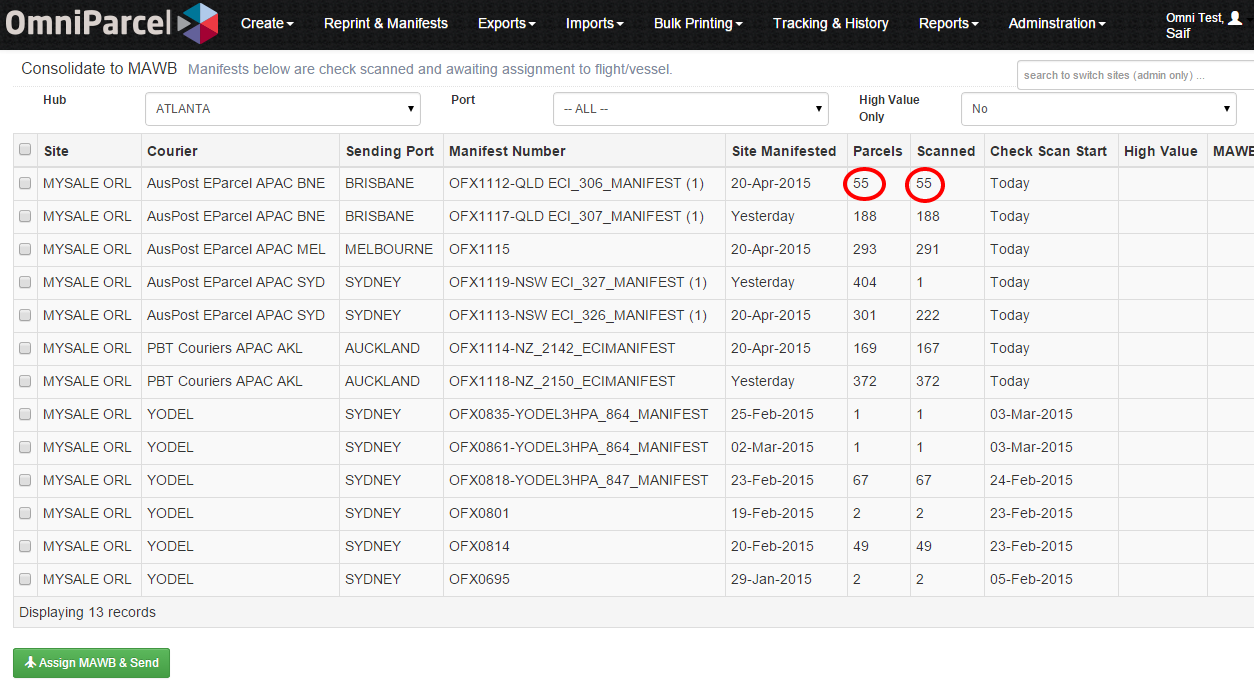
- Display of MAWB screen below. This screen will show you the port the freight is being sent to, how many items were scanned for each client, the total number of items in that manifest and the date the scan started.
- If all packages have been scanned into the scanning portal, then you should see that the Parcel and Scanned counts match.
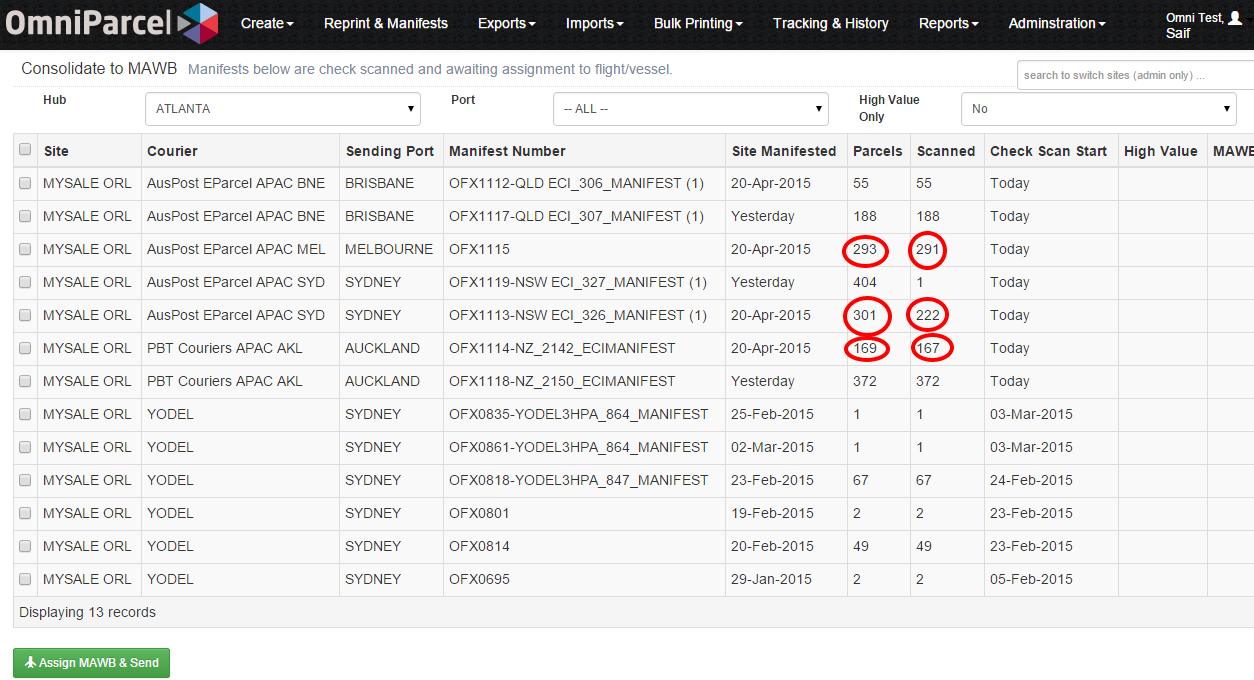
- Should the number of scanned Parcels not match the data provided, a Supervisor should investigate. This could be due to either not all freight being scanned, some freight being held back as it did not fit into the container or some packages were missed.
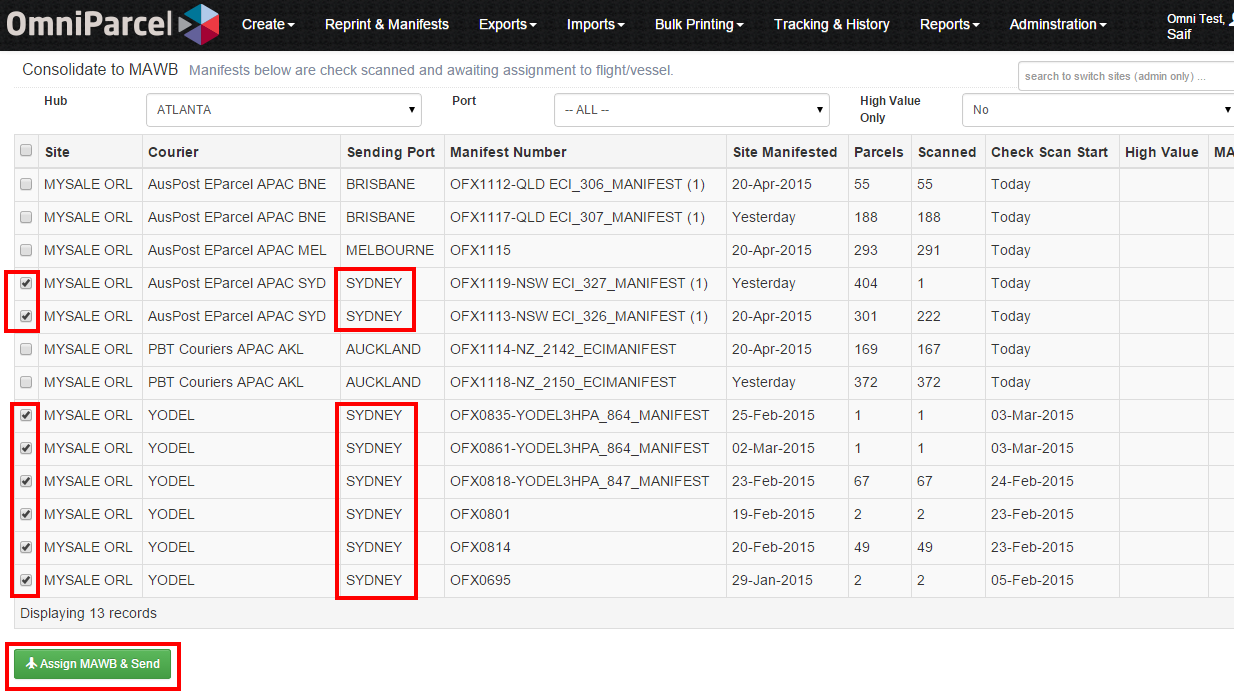
- When the operator is happy to assign a MAWB, select each manifest you would like to assign and click "Assign MAWB & Send".
NOTE - Only do one destination port at a time. You can select multiple manifests for the one Port.
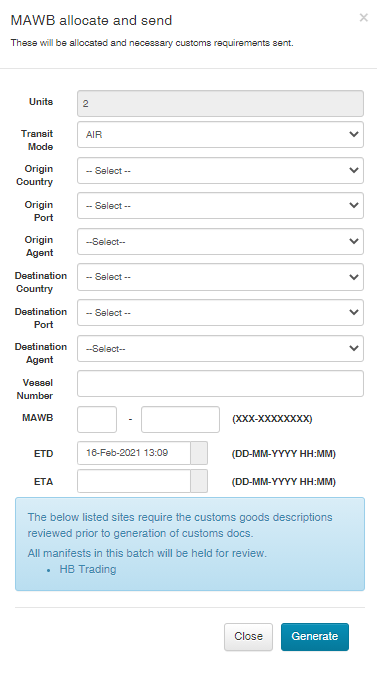
- Now you will need to enter into the system all the details about this consolidation (screenshot below). Once all details have been entered click “Generate”. Details to be entered include:
- Transit Mode – Is the freight going by Air or Sea?
- Origin Country– Country from which the freight leaving. Eg. AUS
- Origin Port – Port from which the freight is arriving. Eg. SYD
- Origin Agent – Agent responsible for the consolidation and export
- Destination Country – Country which the freight is flying to
- Destination Port – Port which the freight is being cleared at
- Destination Agent – Agent responsible for collection and clearance. Always AirCity in this case
- Vessel Number – Vessel or Flight number the freight is moving on. Eg. QF001
- MAWB – Master Air Way Bill Number the freight has been allocated
- ETD – Date of flight departure
- ETA – Date of flight arriving
Unscanning Freight that isn’t being sent
- Click “Exports” (at the top of the screen) and click “Undo Receipt Scan”.
- Start scanning packages that have already been scanned but aren’t being sent in the “Scan barcode” text box.

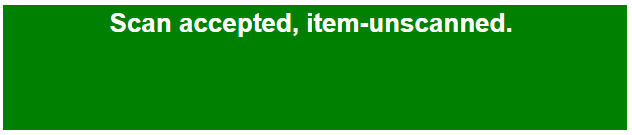
- If a scan is successful, a scan accepted, item-unscanned green box will appear.
- If an invalid package is scanned, a red Invalid Barcode Scanned box will appear.

Continue scanning freight into the “Undo Receipt Scan” screen until all freight that is not being sent is scanned, and then assign your MAWB.
SEKOLOGISTICS.COM
Comments
0 comments
Please sign in to leave a comment.